Polar Bear Picture
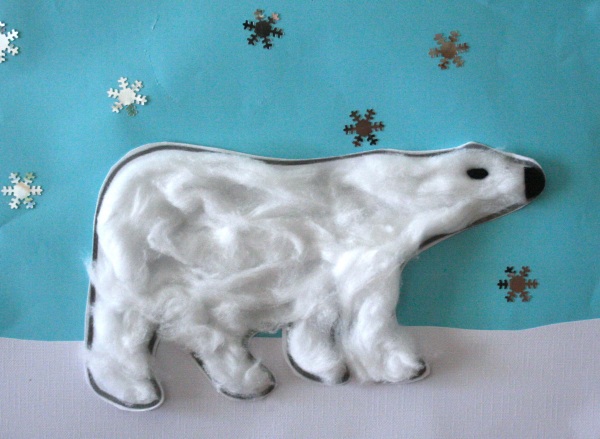
Here’s a quick and easy craft for those of you who need to entertain small people during the school holidays.
You need:
- White card
- Blue Paper / Card – we used A4 size
- Sparkly snowflake sequins or stars (or you could cut some mini paper snowflakes)
- Cotton Wool
- Polar Template (available here)
‘Stained Glass’ Paper Bowl Tutorial
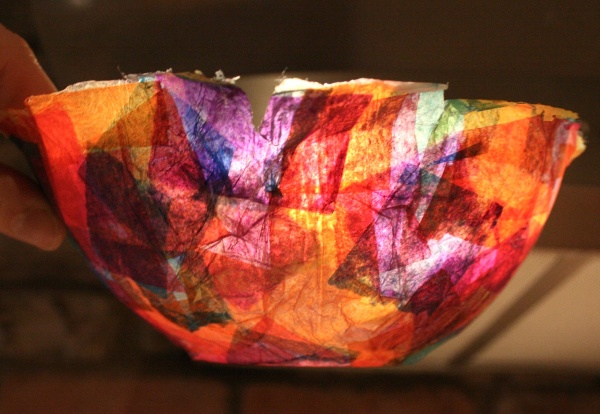
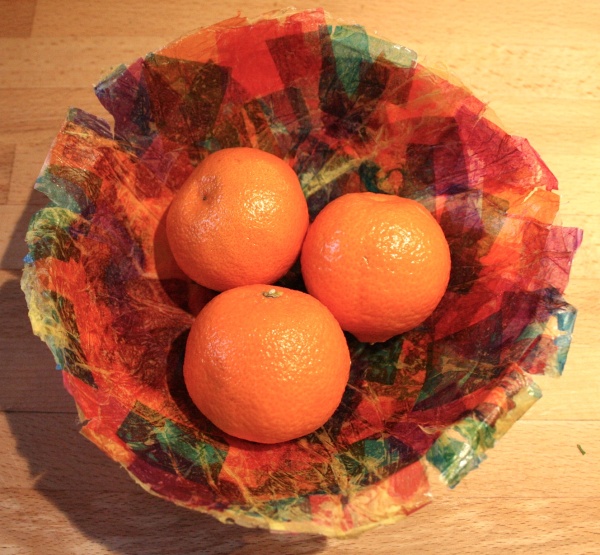
This is fun to make and the results are magical. I plan on making a series of smaller ones to use as votives.
Materials
- Bowl for mould – we used a ceramic breakfast bowl
- Clingfilm
- PVA glue
- Tissue Paper, various colours
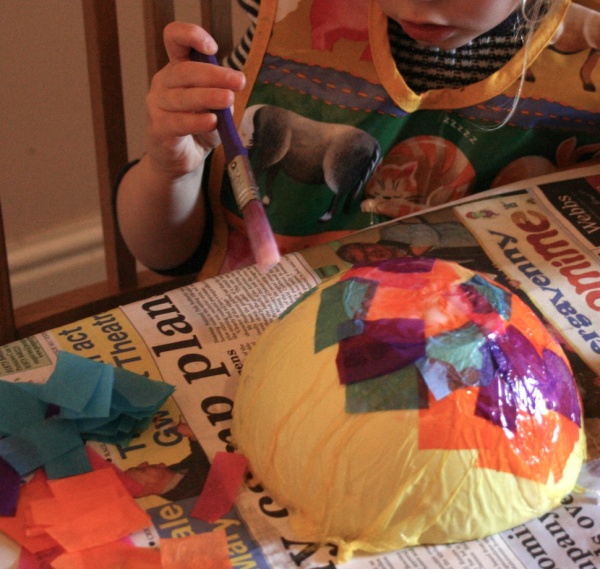
Cover the bowl you are using as a mould with cling film. Take a piece of tissue paper large enough to cover the bowl and scrunch it around the outside of the bowl. Apply glue liberally, smoothing down tissue paper so that it follows the shape of the bowl. Tear or cut different coloured tissue paper into squares and stick onto the bowl, applying a layer of glue on top of each piece as you stick it down. Continue this process until you have built up 3 or 4 layers. Add more if you want a more robust bowl but the more you add, the less transparent your bowl will be. Leave to dry overnight – thicker bowls may take longer.
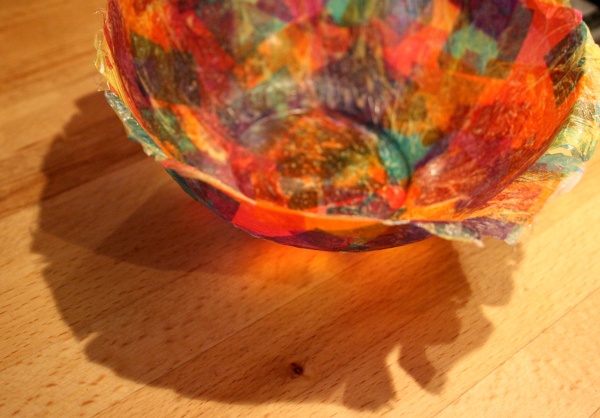
When the bowl is completely dry, ease the cling film off the mould – this can be a bit fiddly. If it really won’t budge, try gently pushing a knife of spoon handle between clingfilm and bowl. When its off, the cling film should come away from the paper bowl easily. You can trim the edge of the bowl for a neater look but I liked the rough edge on ours.
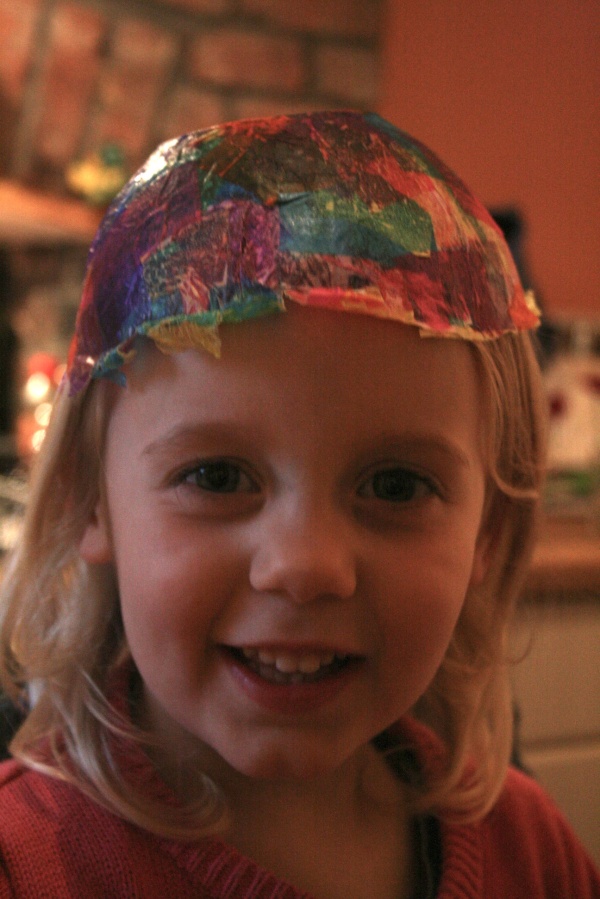
The Little One really loved making this – and was very pleased with the end result. She even found an alternative use for the bowl…
Thanks for looking. Wishing you are a wonderful weekend. xxx
For the one I love…
Spring Tree Tutorial
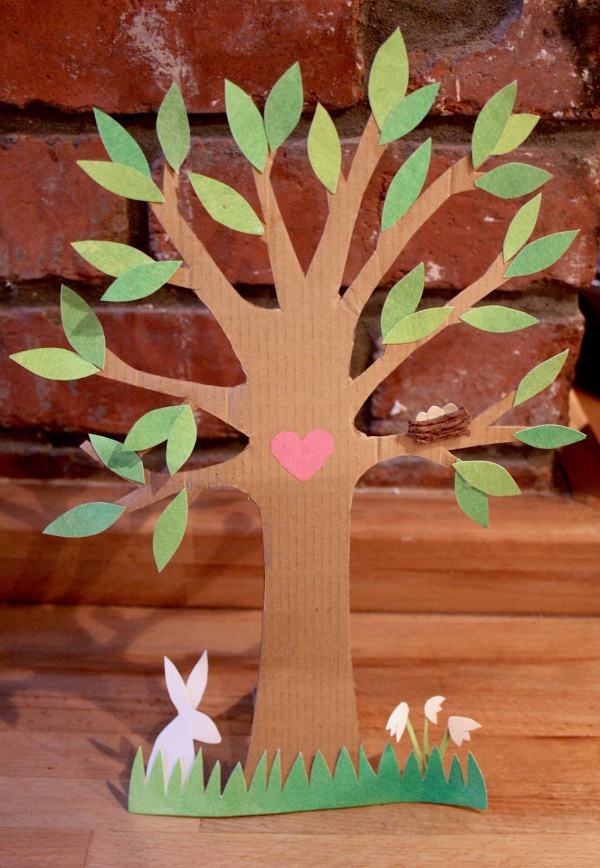
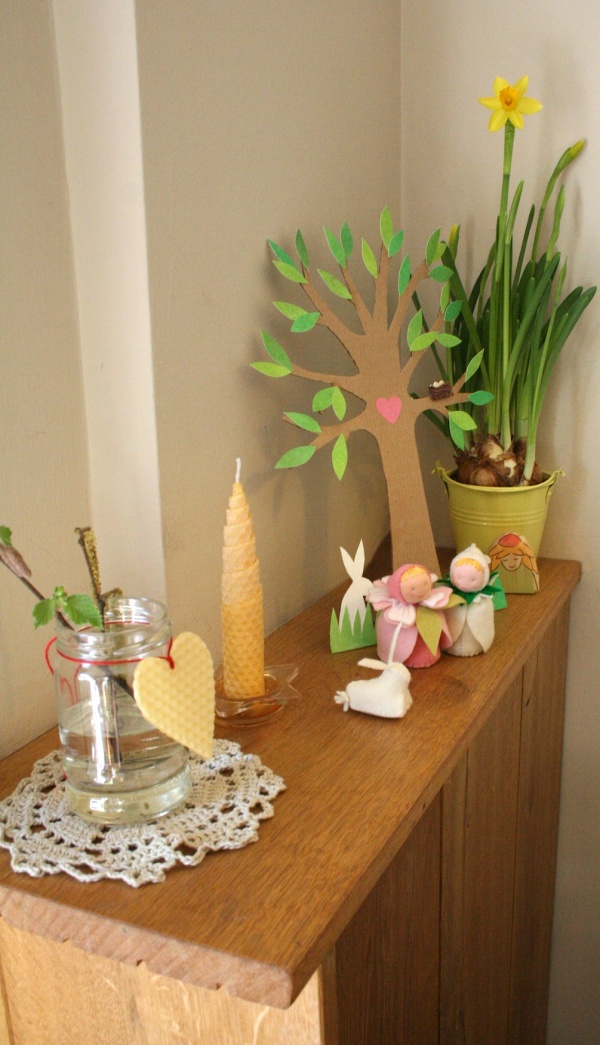
Last week I had some books delivered and, after I’d got over the excitement of ‘new books’, I decided we should use the packaging to make something special. This is what we came up with:
Its a Spring Tree decoration for our nature table and is very easy to make – so easy, I’m not sure a tutorial is really necessary but I’ll explain how we made it in case anyone fancies making something similar – if anything isn’t clear, please just ask.
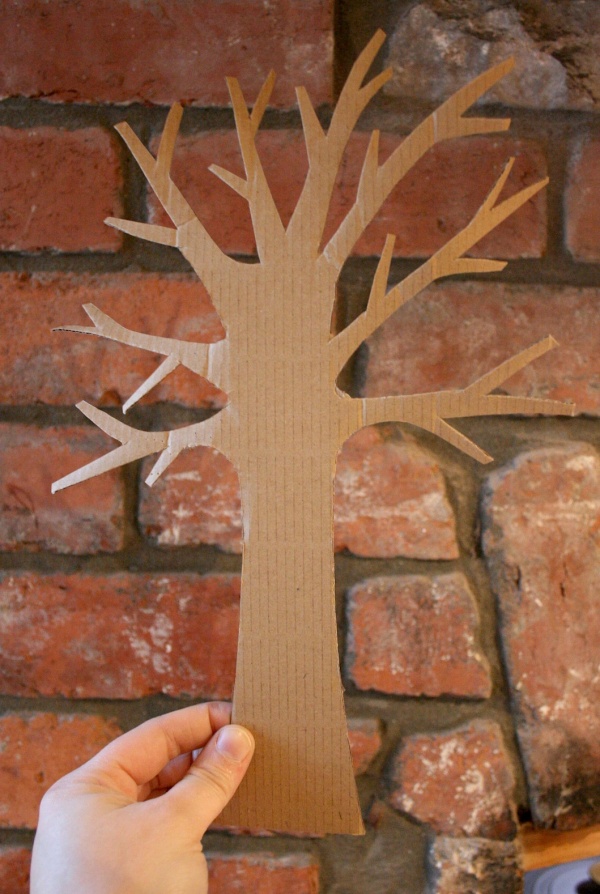
Tree: First off, we cut out a tree shape from the cardboard then used some of the leftover cardboard to make a little triangular ‘prop’ which we affixed to the back of the tree to help it stand up.
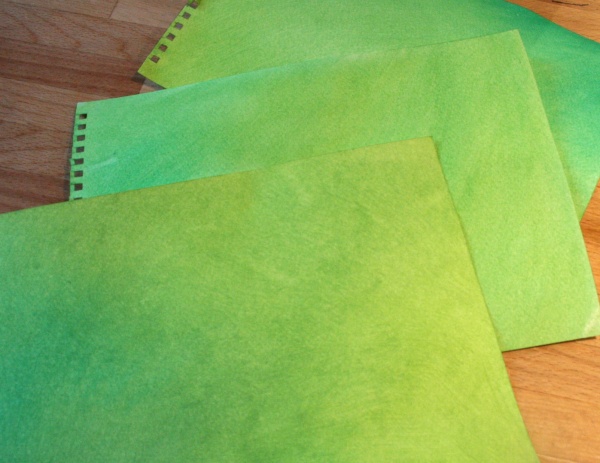
Leaves: To make the leaves we first had a go at some wet-on-wet painting. If you’ve not tried this technique before, there’s a great tutorial on Simple Homeschool here. I’m completely smitten! Of course, you could just use green paper if you’re in a hurry.
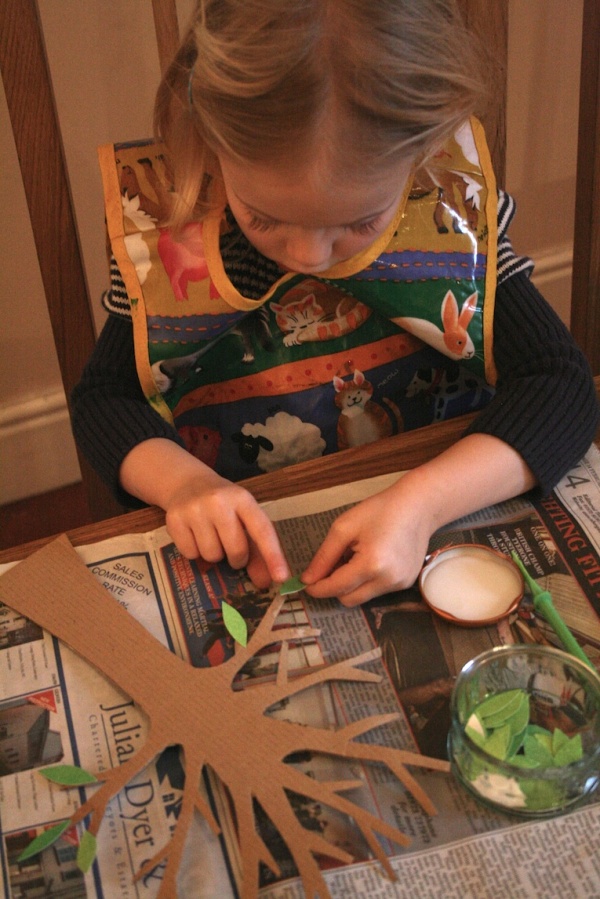
When the paintings were dry we cut them into simple leaf shapes and stuck them to the tree.
To finish off, we cut some grass from the leftover watercolours and decorated the tree with a bunny, a little bird’s nest and some snowdrops. The bunny and snowdrops were simply cut from the watercolours (using the reverse for the white) and the nest was made from a scrap of cardboard with some brown string stuck to it.
All in all, it was a fun project and the tree now has pride of place on our nature table – amidst, daffodils, catkins and some spring-themed dolls.
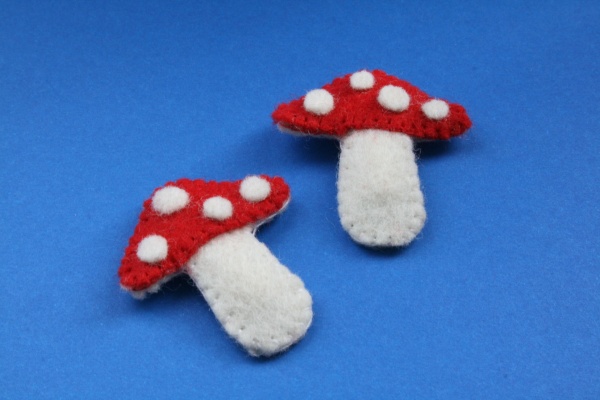
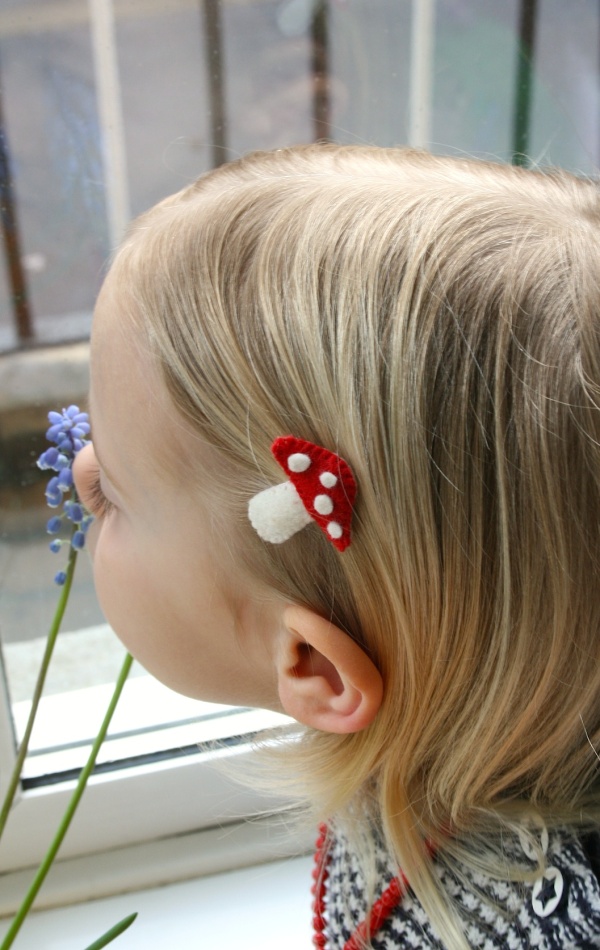
Fairy Mushroom Hairclips
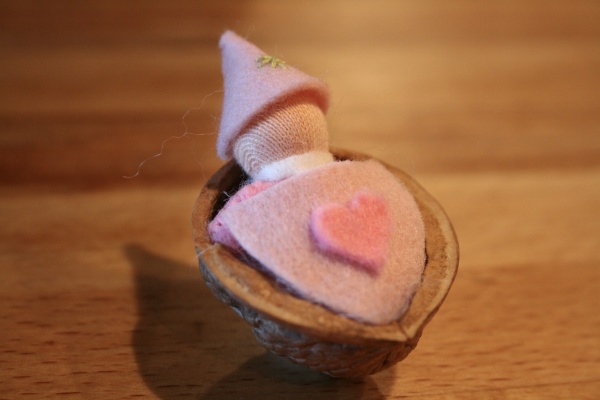
Walnut Baby Tutorial
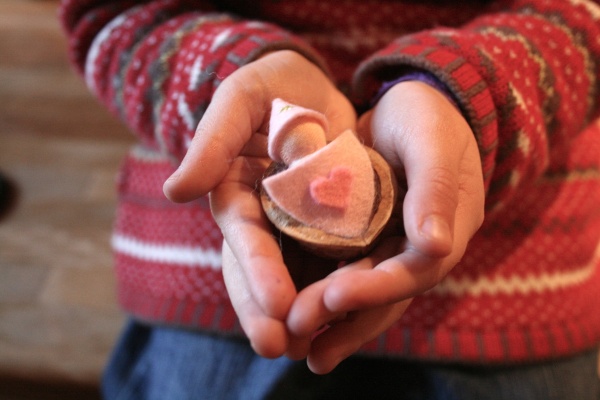
I love making these for my daughter and thought I’d share how I make them in case anyone else fancies giving it a go. Its a very simple sewing project and older children who are handy with a needle could probably make one.
What you need:
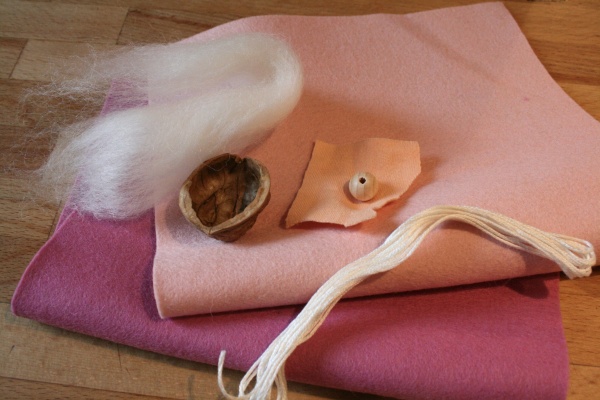
- A walnut shell
- A small amount of wool fleece or other suitable stuffing material
- Felt
- A small wooden bead (mine are 12mm)
- A small piece of flesh coloured stockinette / jersey material
- Strong thread
- Sewing thread
First make the head by stretching the stockinette over the wooden bead and securing with strong thread. I like to place the bead on a pencil whilst I do this as it allows me to pull the fabric down over the bead tighter. Wrap thread tightly around the ‘neck’ to secure. Trim off most of the excess fabric.

Cut out two body shaped pieces of felt and sew together using blanket stitch, leaving a gap at the neck to allow you to stuff the body and insert the head. Don’t cut off your thread as you can use it to sew the head in place.
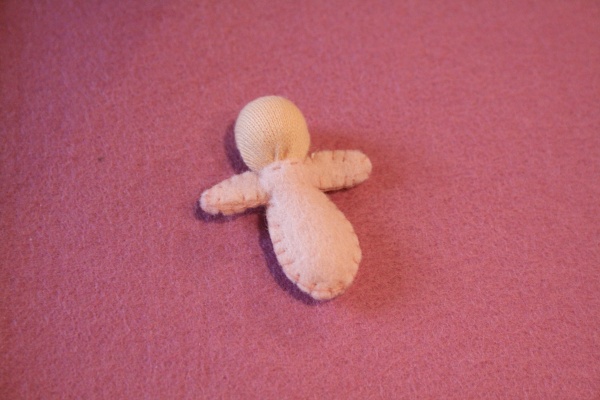
Stuff the body with some of the fleece, reserving the rest to be the doll’s bedding. A skewer is handy for poking the wool down into the body. Don’t overstuff as you need space to insert the ‘neck’.
Insert the neck and sew to body by passing the needle right the way through body and neck a few times. Fasten off.
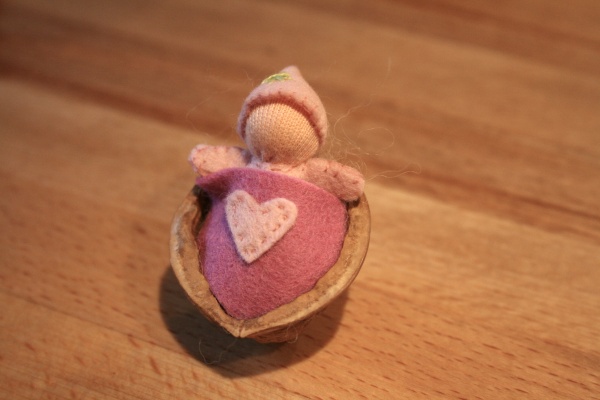
The doll can be decorated with embroidery or felt shapes which can be stitched or glued in placed.
To make the hat, cut a small semicircle of felt (mine had a diamentre of 4.5cm although the exact size will depend on the size of your bead). If in doubt, make the semi-circle a little bigger than you think you need as it can always be trimmed. Decorate with embroidery if desired then fold in half and join the two straight edges using blanket stitch. The hat can be left like this or can be stitched to the dolls head.
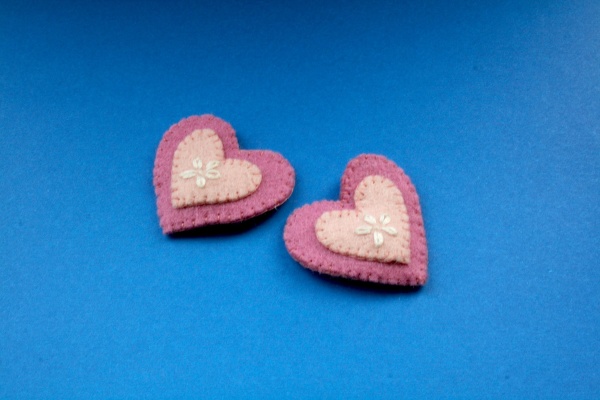
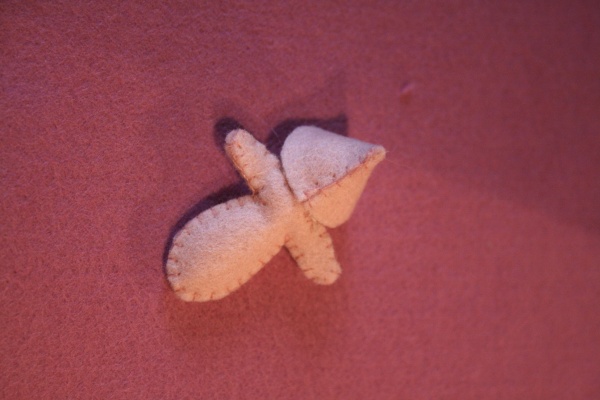 Place a small amount of fleece inside the shell to be the bedding. To make a cover, cut felt to fit walnut shell and sew on a heart or other shape. Alternatively you could embroider a design.
Assemble and enjoy!
Candlemas
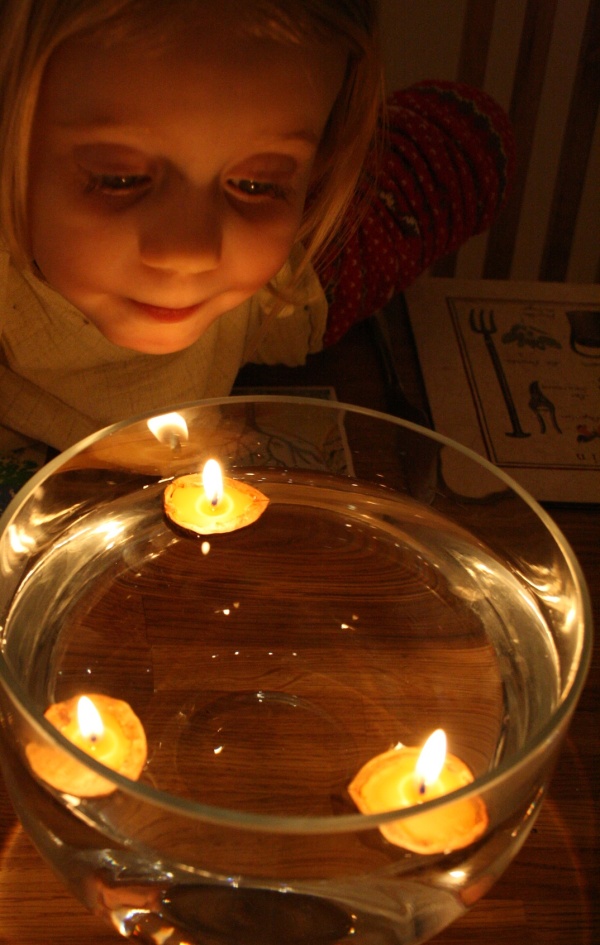
Candlemas was traditionally the day when all the candles to be used in Church in the coming year were blessed. We celebrated by making more beeswax candles along with these lovely walnut floating candles – inspiration courtesy of The Magic Onions
“If Candlemas Day be fair and bright
Winter will have another fight.
If Candlemas Day brings cloud and rain,
Winter won’t come again.”
It’s been raining pretty much all day here in our little bit of Wales so…
Hello Spring!
xxx
Beeswax Candlemaking
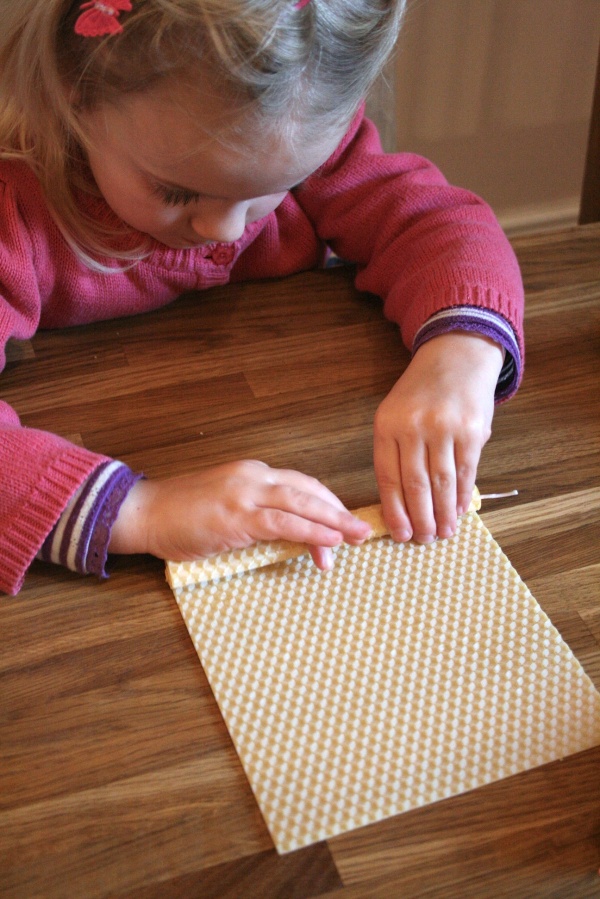
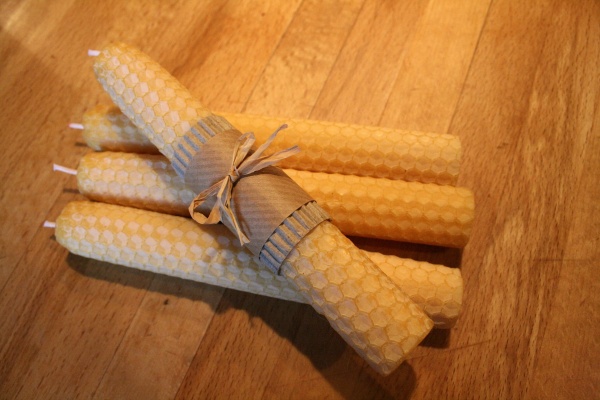
In preparation for Candlemas next week, we spent an enjoyable hour or so rolling beeswax candles to give as gifts on Wednesday.
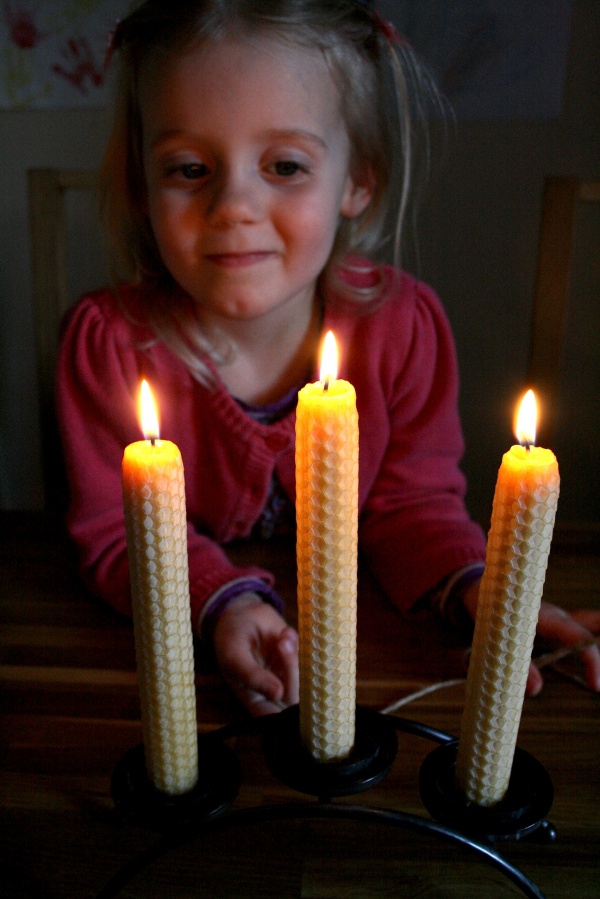
The Little One loves candles so it was nice that she could be involved in the making of them.
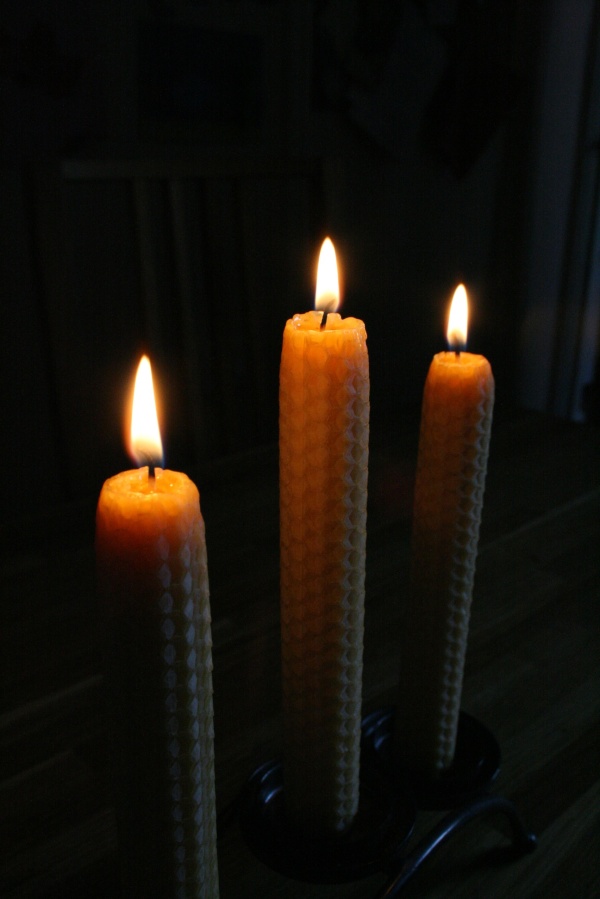
As you can see, she was very pleased with her efforts! The beeswax was lovely to handle – it smelled so sweet and its amber glow when lit was beautiful.
I hope you all have had a happy and restful weekend.
xxx
beauty in the detail
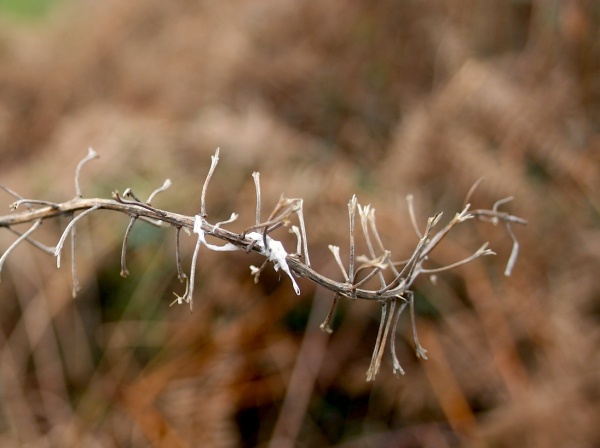
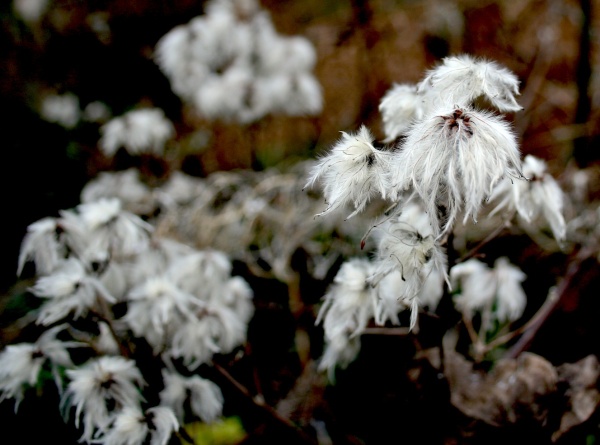
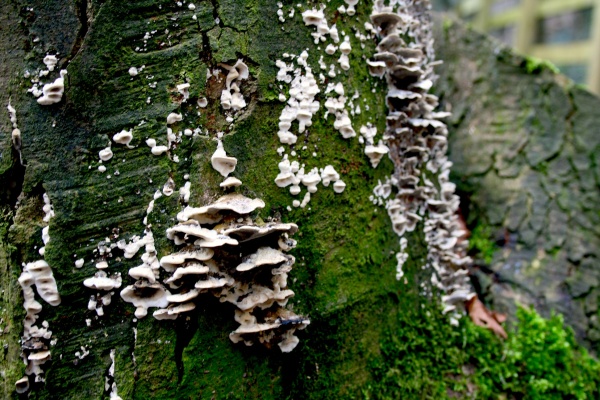
Sometimes we need to stop and stare….
to see the small things of the world…
to drink in the detail…
and marvel at its beauty.
In anticipation of todays woodland walk, I put together this treasury inspired by nature
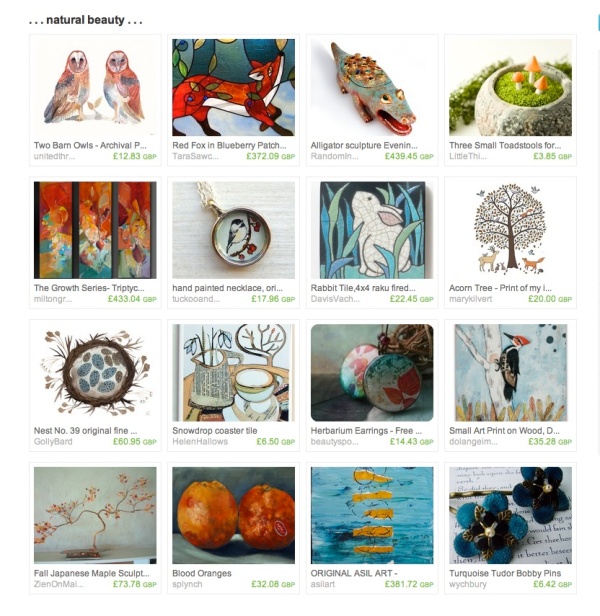 please take a peek – there’s some wonderful pieces made by very talented people indeed!
fire and ice
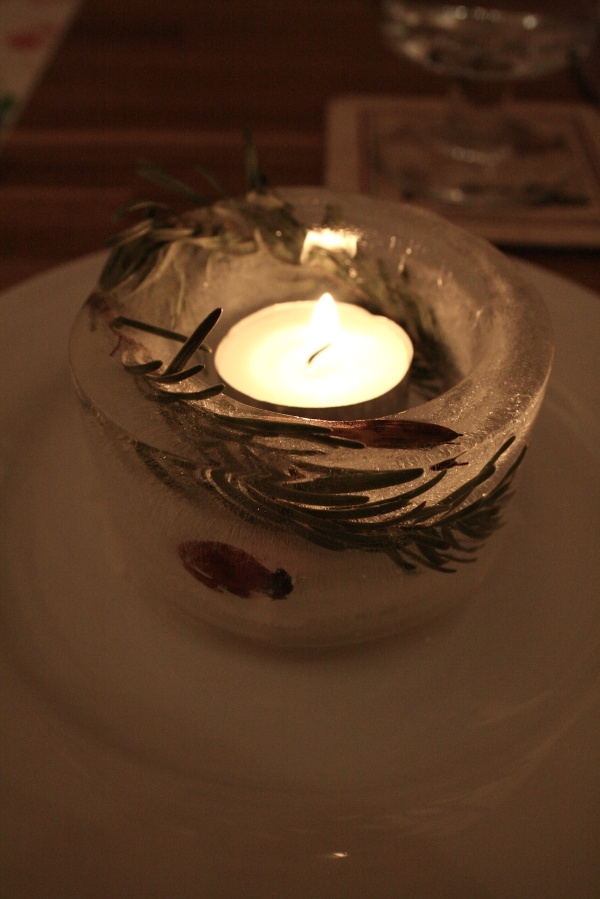
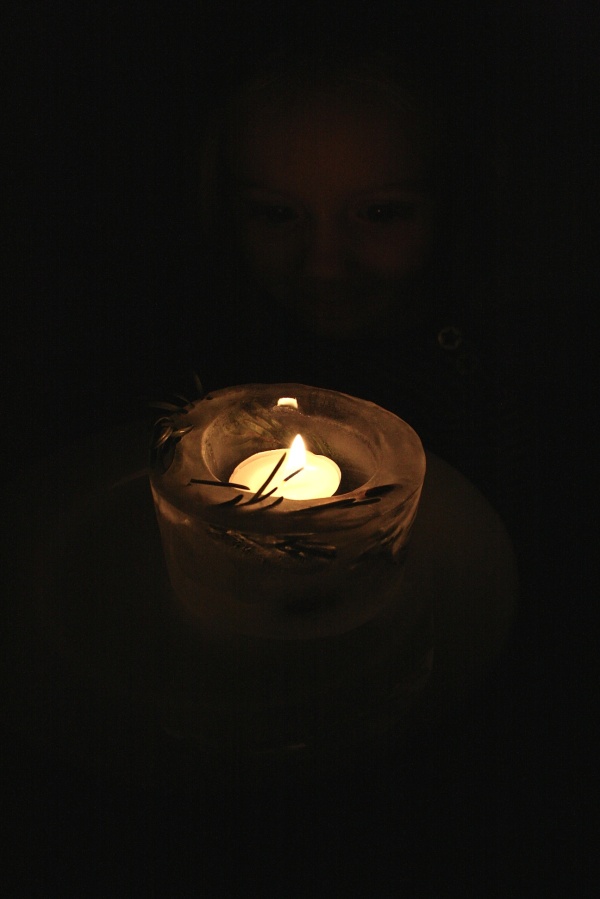
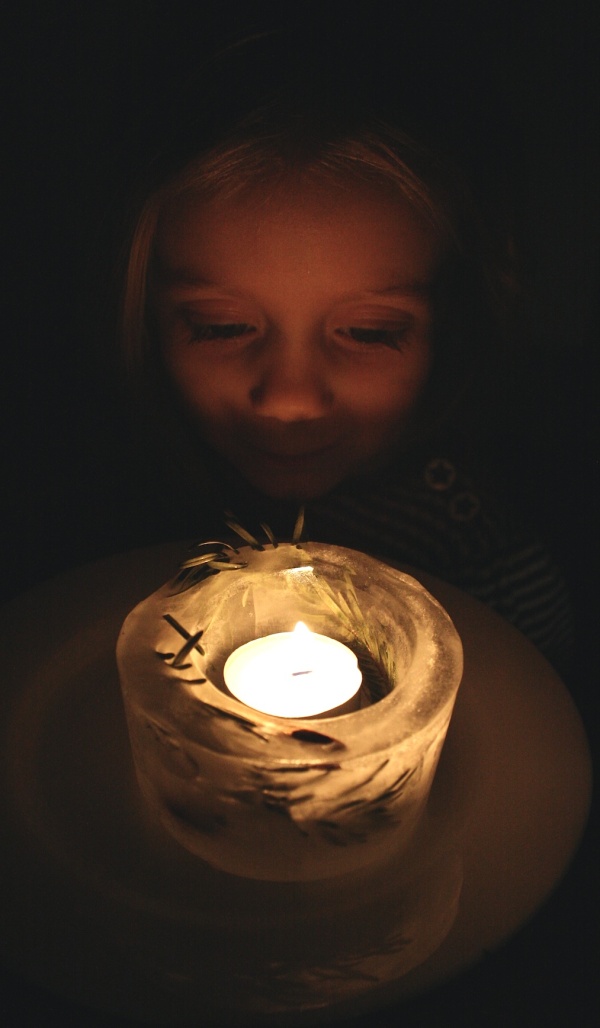
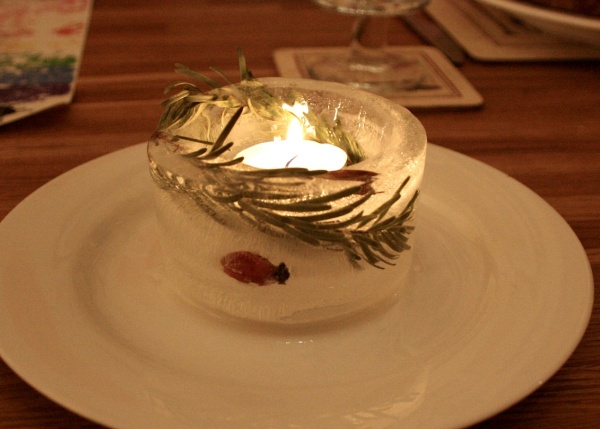
We’ve recently introduced a simple mealtime ritual: we say grace, light a candle then tuck in. This means our candle-usage has increased quite a bit so I’m always on the lookout for new ways to make and display the candles. When I saw this tutorial, I knew we’d have to give it a go. I loved making the frozen suncatchers so was keen to try more ice crafts.
The results were spectacular. There is something magical about the way the ice glows in the candle light. As the lantern began to melt, the candle floated in its own pool of glistening water. I love the elemental nature of the project too – fire and ice – simple, natural and beautiful. My daughter was equally enchanted.
I anticipate many more of these lanterns will grace our dinner table before winter is over.
