Walnut Baby Tutorial
I love making these for my daughter and thought I’d share how I make them in case anyone else fancies giving it a go. Its a very simple sewing project and older children who are handy with a needle could probably make one.
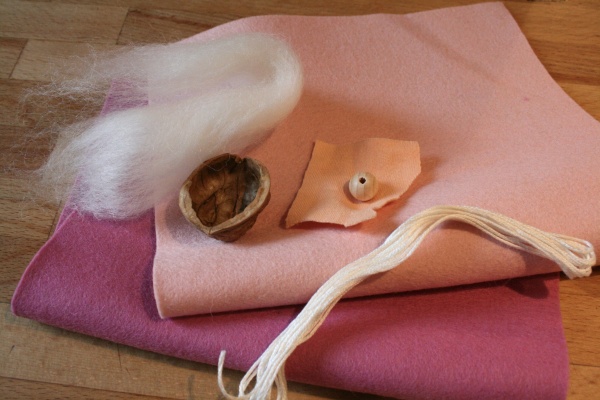
What you need:
- A walnut shell
- A small amount of wool fleece or other suitable stuffing material
- Felt
- A small wooden bead (mine are 12mm)
- A small piece of flesh coloured stockinette / jersey material
- Strong thread
- Sewing thread
First make the head by stretching the stockinette over the wooden bead and securing with strong thread. I like to place the bead on a pencil whilst I do this as it allows me to pull the fabric down over the bead tighter. Wrap thread tightly around the ‘neck’ to secure. Trim off most of the excess fabric.

Cut out two body shaped pieces of felt and sew together using blanket stitch, leaving a gap at the neck to allow you to stuff the body and insert the head. Don’t cut off your thread as you can use it to sew the head in place.
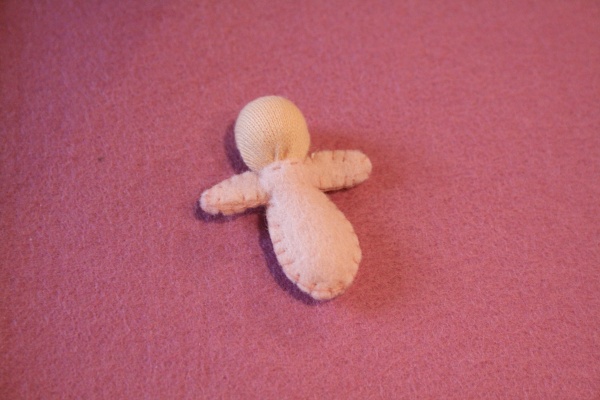
Stuff the body with some of the fleece, reserving the rest to be the doll’s bedding. A skewer is handy for poking the wool down into the body. Don’t overstuff as you need space to insert the ‘neck’.
Insert the neck and sew to body by passing the needle right the way through body and neck a few times. Fasten off.
The doll can be decorated with embroidery or felt shapes which can be stitched or glued in placed.
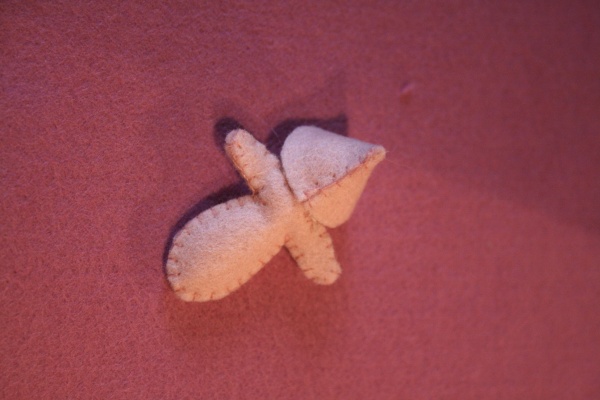
To make the hat, cut a small semicircle of felt (mine had a diamentre of 4.5cm although the exact size will depend on the size of your bead). If in doubt, make the semi-circle a little bigger than you think you need as it can always be trimmed. Decorate with embroidery if desired then fold in half and join the two straight edges using blanket stitch. The hat can be left like this or can be stitched to the dolls head.
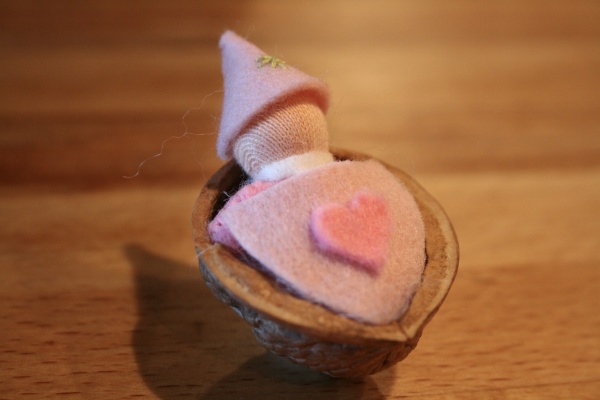
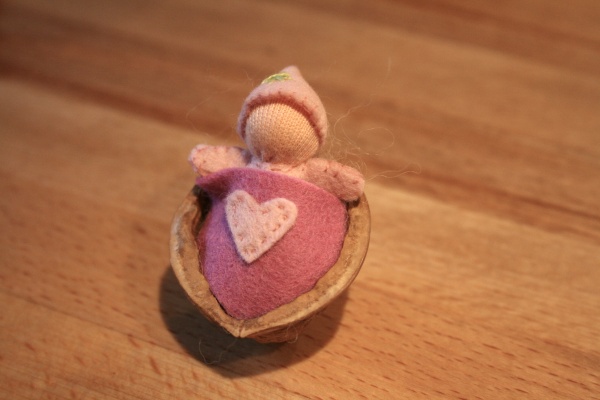
 Place a small amount of fleece inside the shell to be the bedding. To make a cover, cut felt to fit walnut shell and sew on a heart or other shape. Alternatively you could embroider a design.
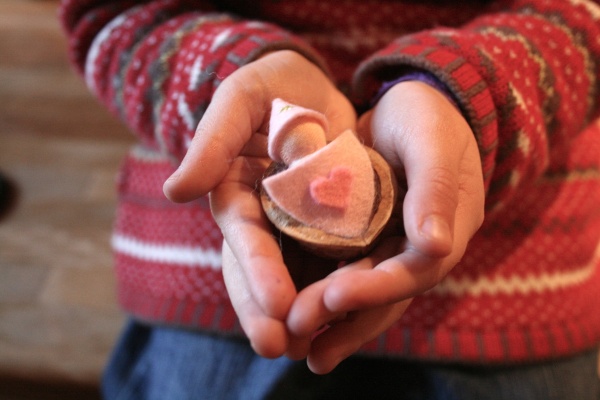
Assemble and enjoy!


So sweet! Thank you for the tutorial!
i love it !
thanks fore sharing 🙂
Very sweet and very well made!
Oh these are the sweetest things ever. I am now utterly itching to get my hands on a walnut. Thank you so much for such a wonderful, clear tutorial!
So simple, yet so effective!
OOOOOOOOOH how cuute 🙂 Thank you for sharing and thank you for your comment on my blog 😉
Kisses,
Angie
thank you!
this is so lovely…I have 2 walnuts I have been saving for something like this!
That is so delightful! it would make a wonderful festive decoration 🙂
I can imagine a little person enjoying tucking the sweet little doll into its bed. Perfect for sliding into a pocket and taking anywhere. I’ll be putting this on my to-do list. Thanks for sharing.
Such a precious homemade toy 🙂 Thank you for showing us how….I will try making one of these soon!
so adorable
Oh, how precious!!! I admire your ability in sewing such small things so neatly. Amazing!
I’m going to do this with the walnuts I have sitting on my counter. Thanks for a great tutorial.
That is precious.
Oh, how cute. Thanks for sharing.
so beautiful and lovely hand stitching!
This is precious. My daughters would love doing something like this together! And it’s just so organic feeling and lovely!
This is so cute! I’d love to share it on my website, if you wouldn’t mind? It is a collection of free patterns and tutorials for creating with felt.
Such a sweet little project, thanks for sharing!
Gorgeous little project 🙂
Hello, I think that is just too cute! Do you have the pattern for the body and hat? I am not very good at eyeballing things like that.